Creating a Form View
Form Views allow you to create customisable searches for you form submissions. For example, If you have a field on your form called "Job Complete" with the options "Yes" or "No", you can create a "Form View" that only shows the submissions that have been marked on 'No'.
Creating a new "Form View"
Within the "Manage" screen against a form, click the menu option "Views"
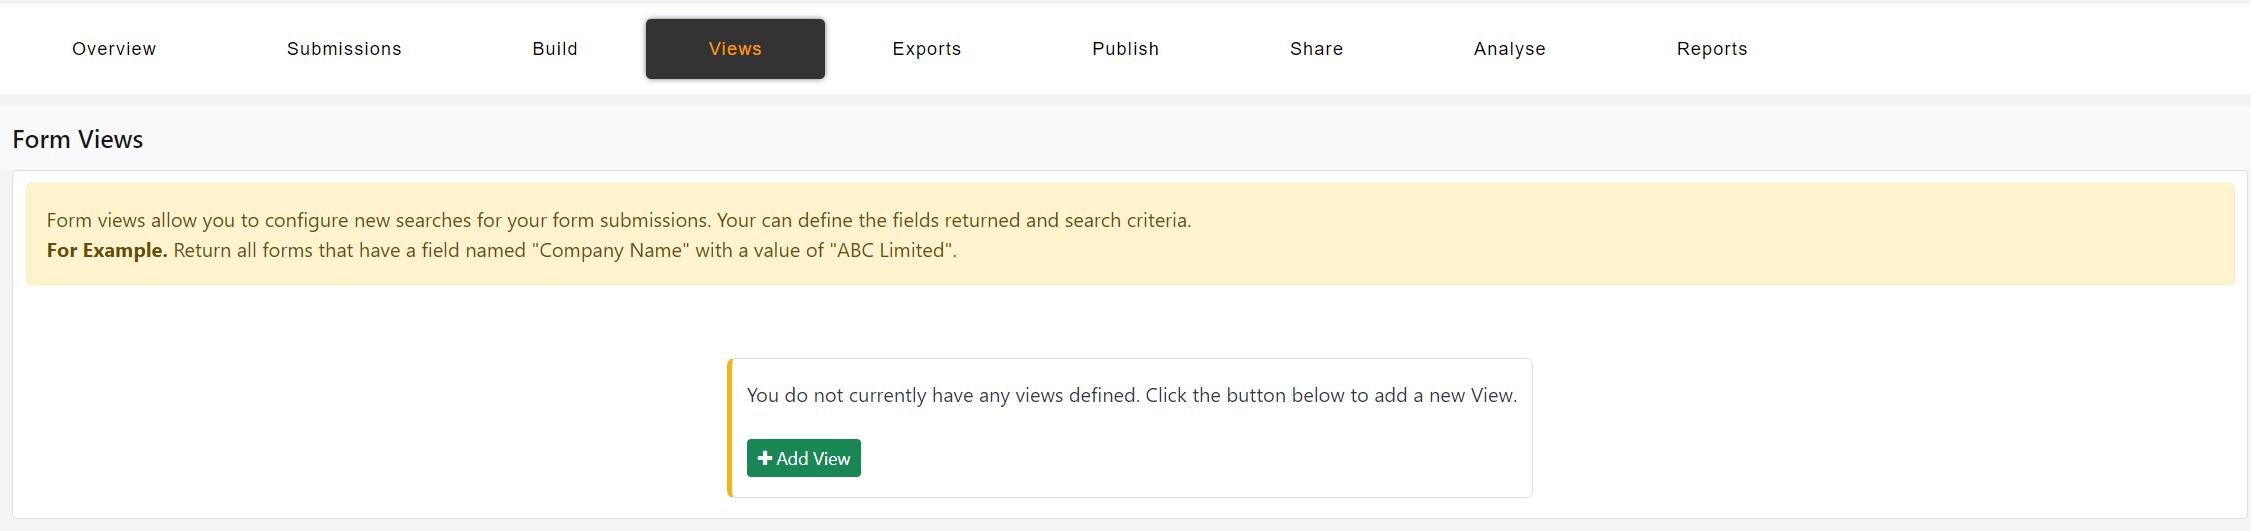
Then click on the "Add View" button. This will then launch the view wizard.
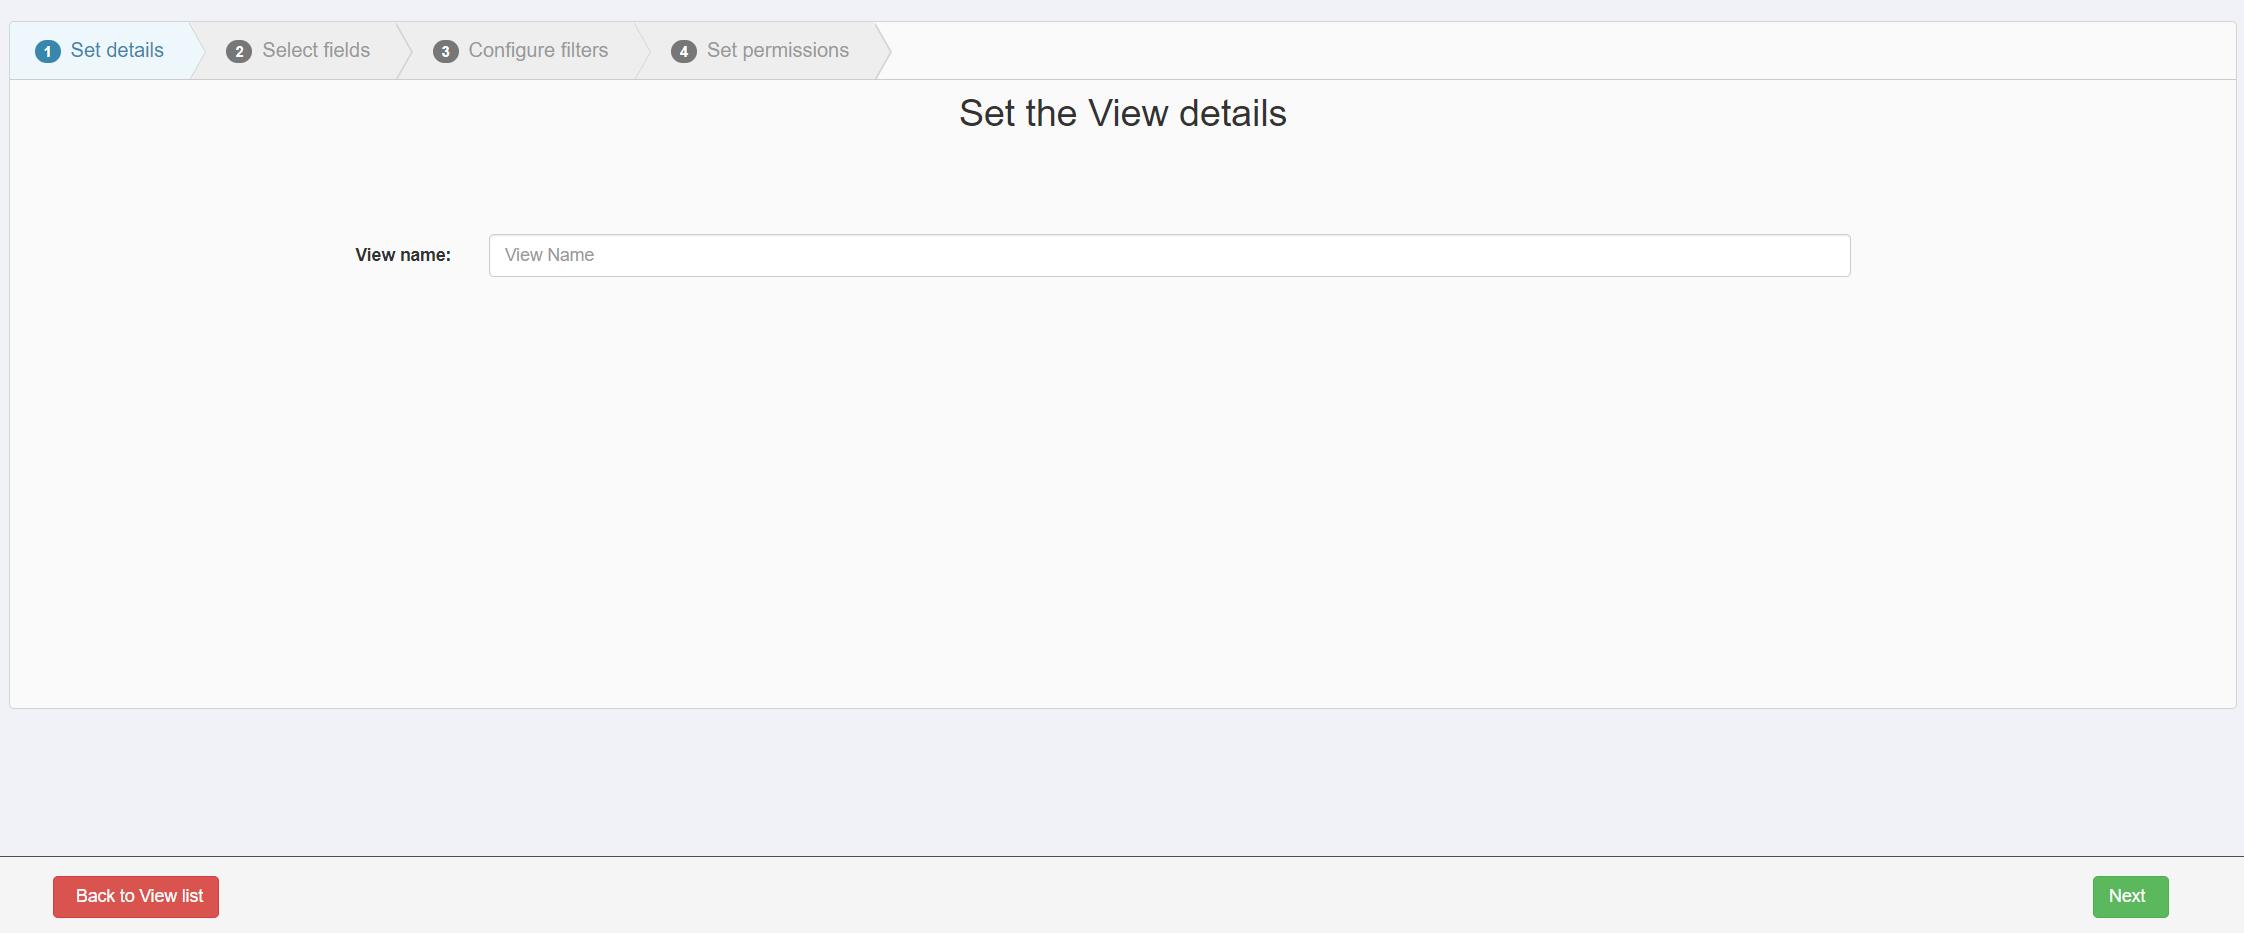
In the first screen, give your view a name and click 'Next' at the bottom:
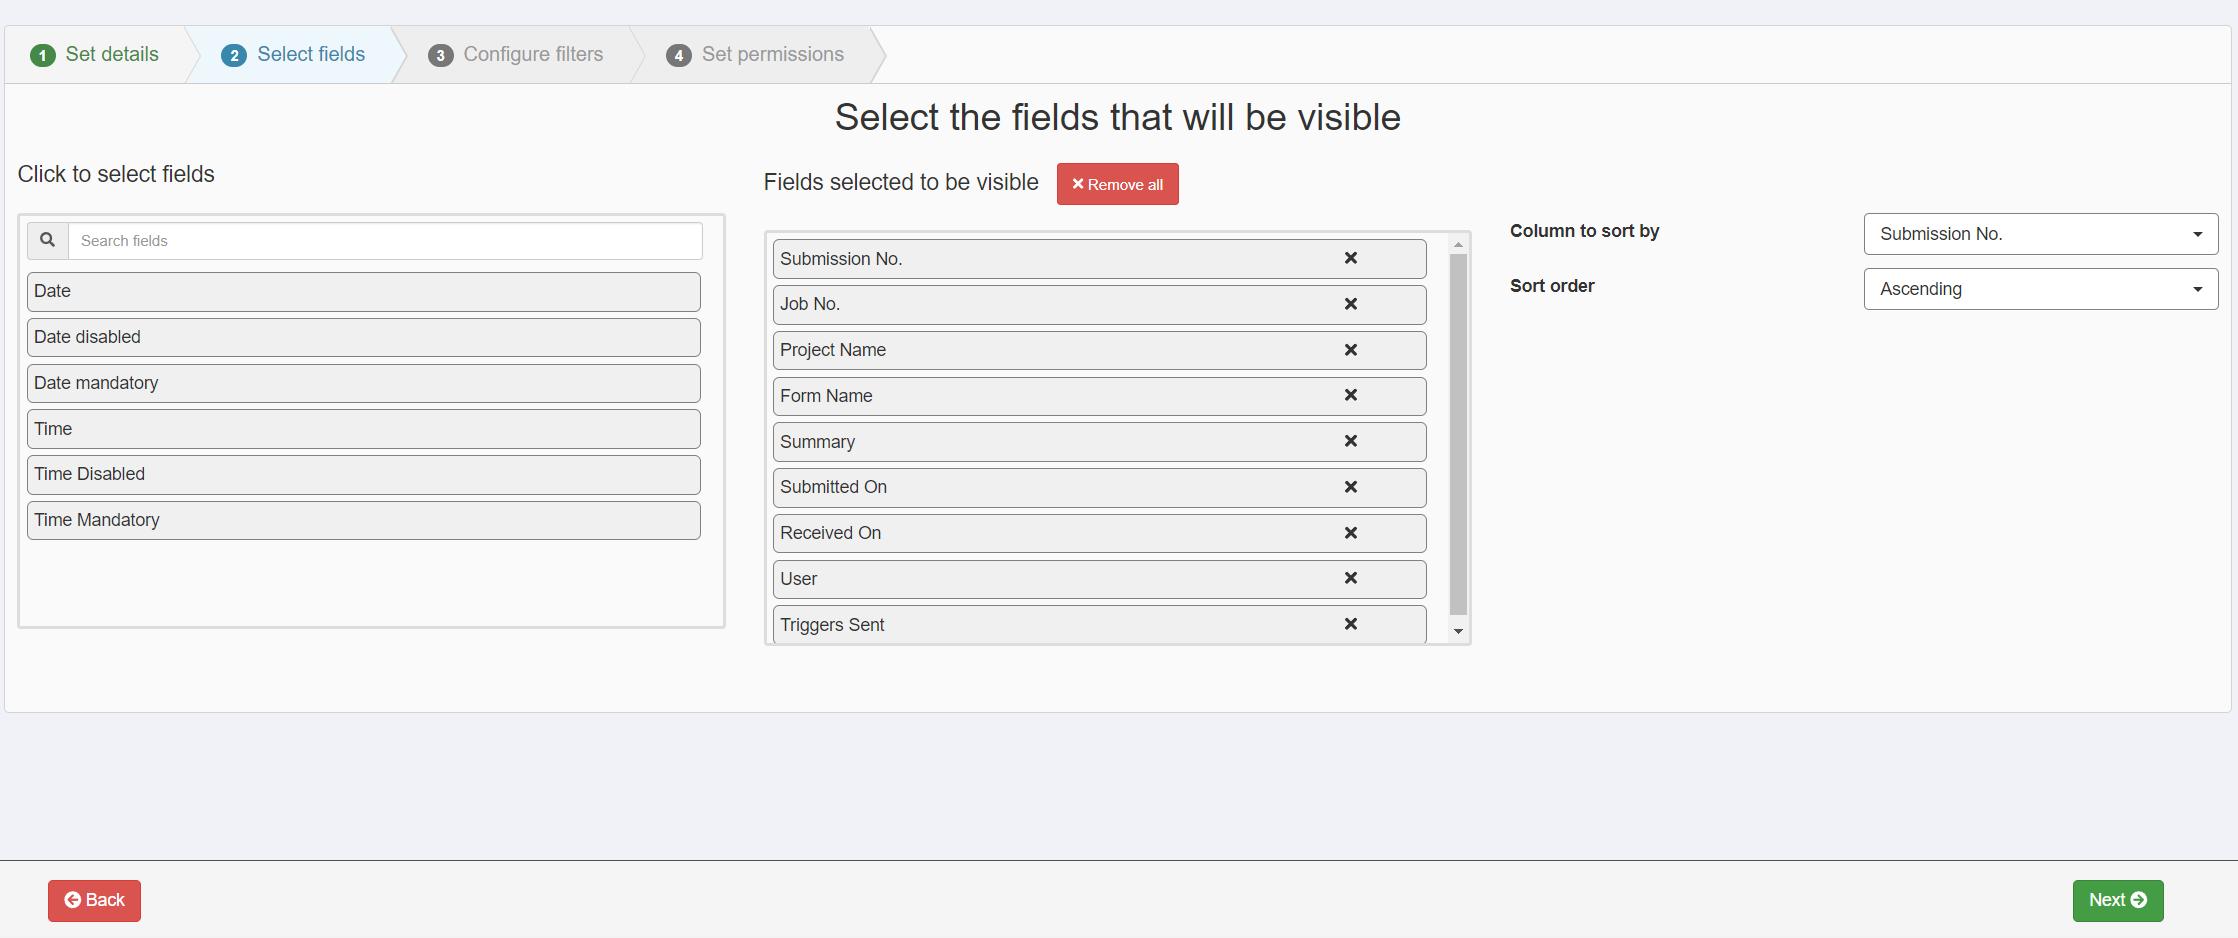
The next stage allows you to specify which fields to bring back in the search results. The middle pane is already populated with the default for fields. If you do not want these fields shown, click the 'Remove All' button. Using the pane on the left, click each field you want to be displayed in the search results. The items in the middle pane are draggable and allow you to alter the order of the fields in the search results. Once you have selected you fields, click 'Next' at the bottom:
Stage 3 allows you to specify the filters that should be applied to the form submissions. To add a filter, click the 'Add filter' button. This will add a row into the table with a dropdown in the first column. This contains your form fields. Select a field you want to search on. Upon selection a dropdown will appear in the second column. In this dropdown select how the field should be searched. Then enter or select the value form the item that appears in the 3rd column.
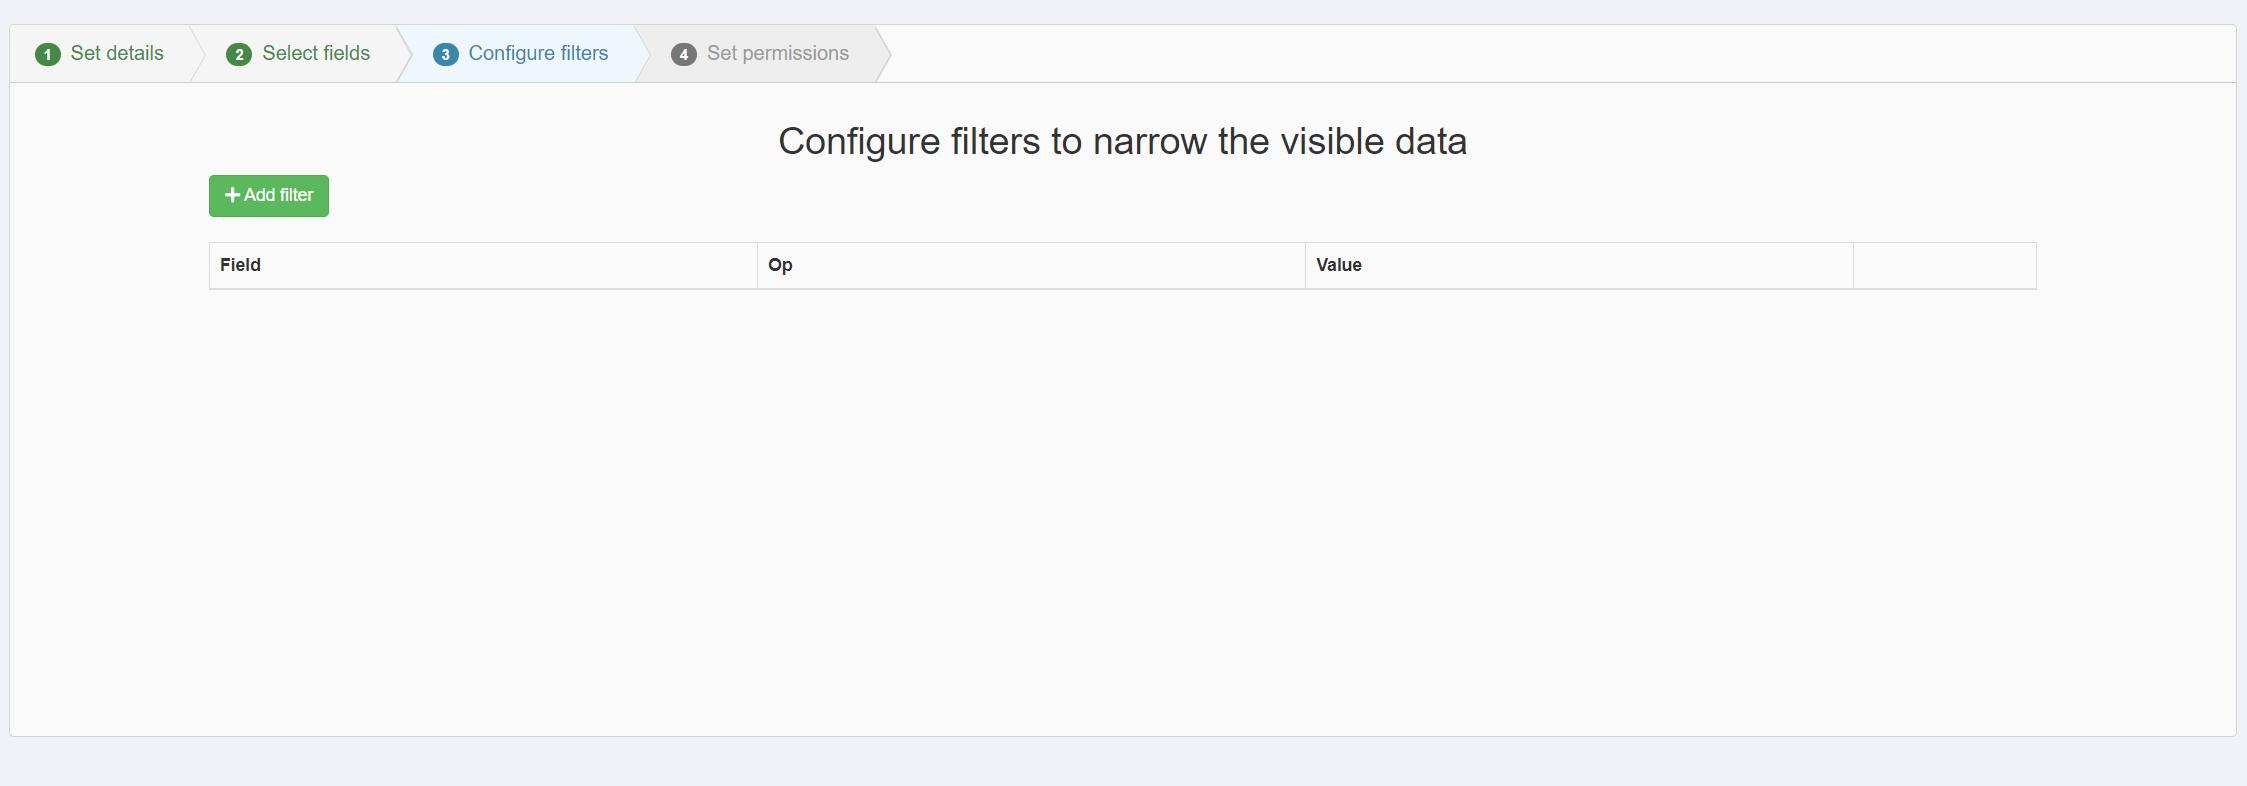
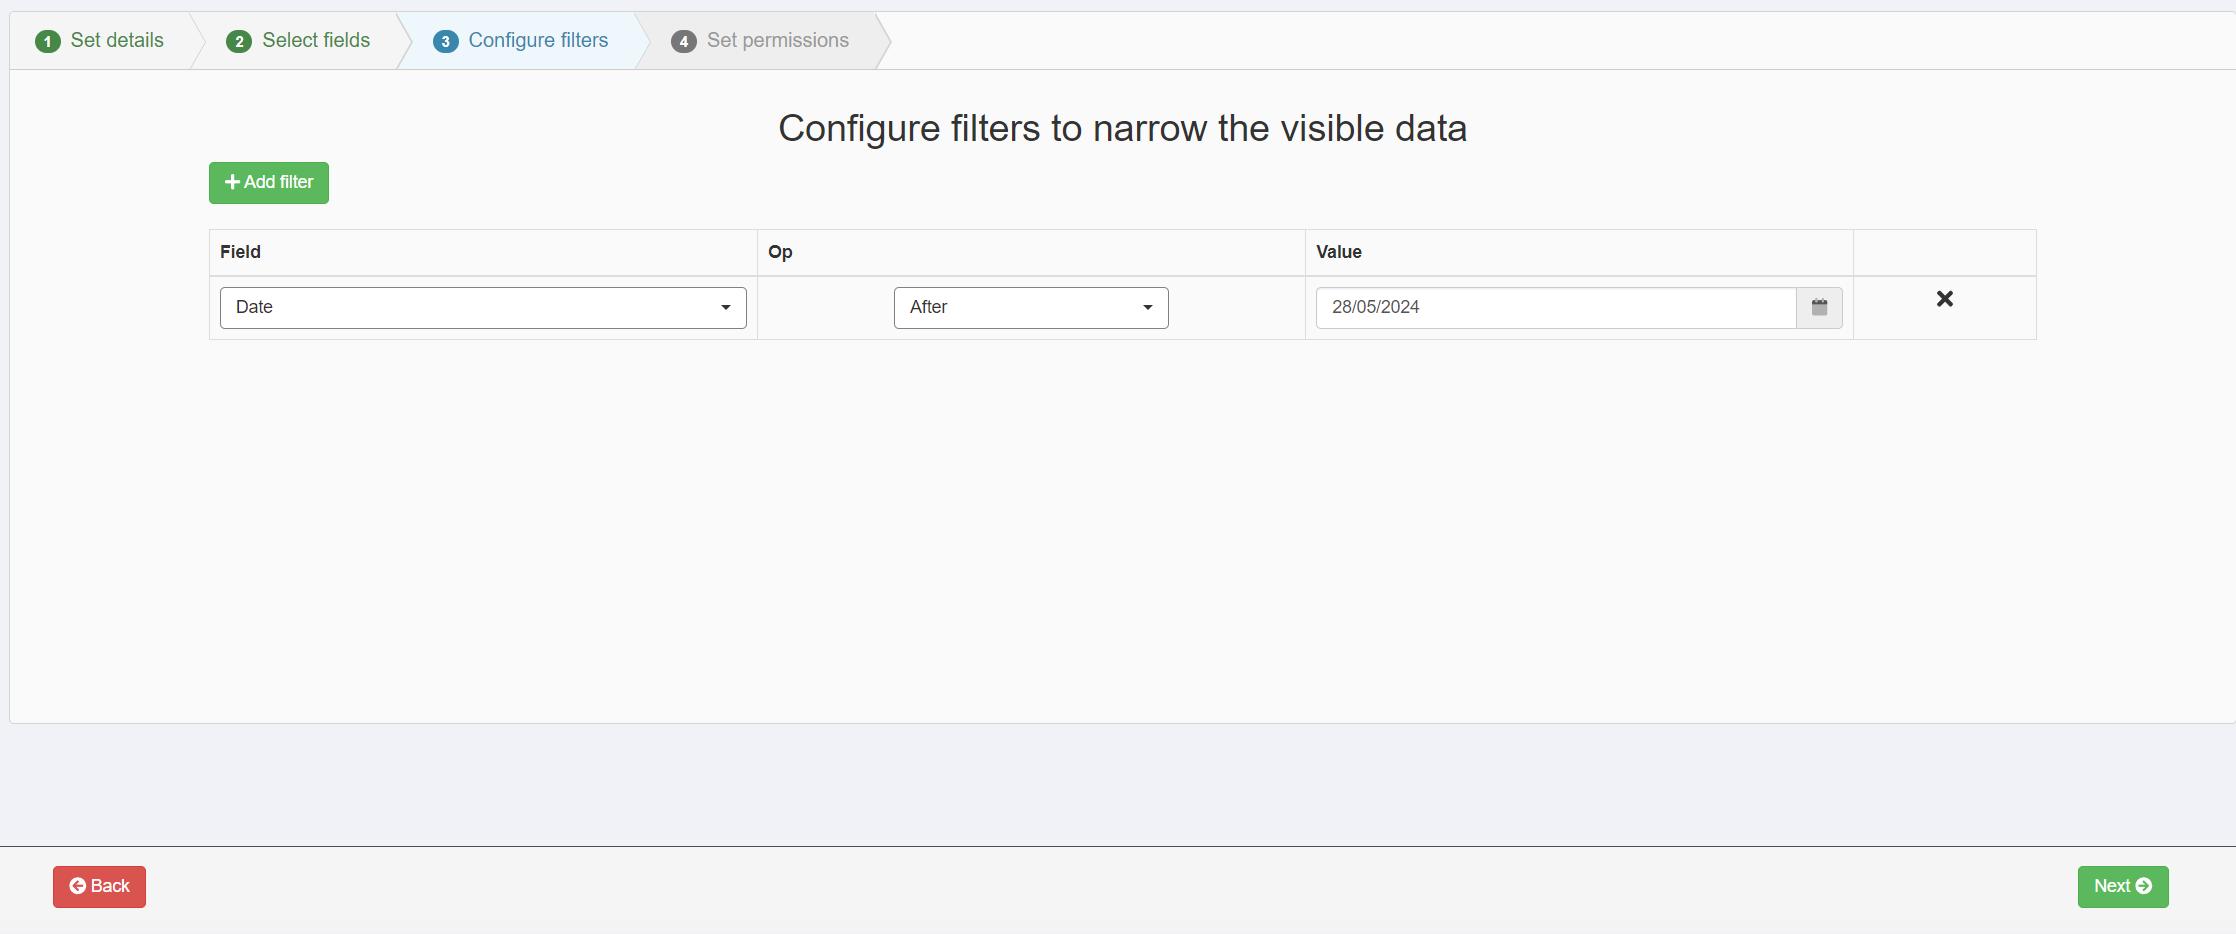
When you have added your filters, click "Next" at the bottom.
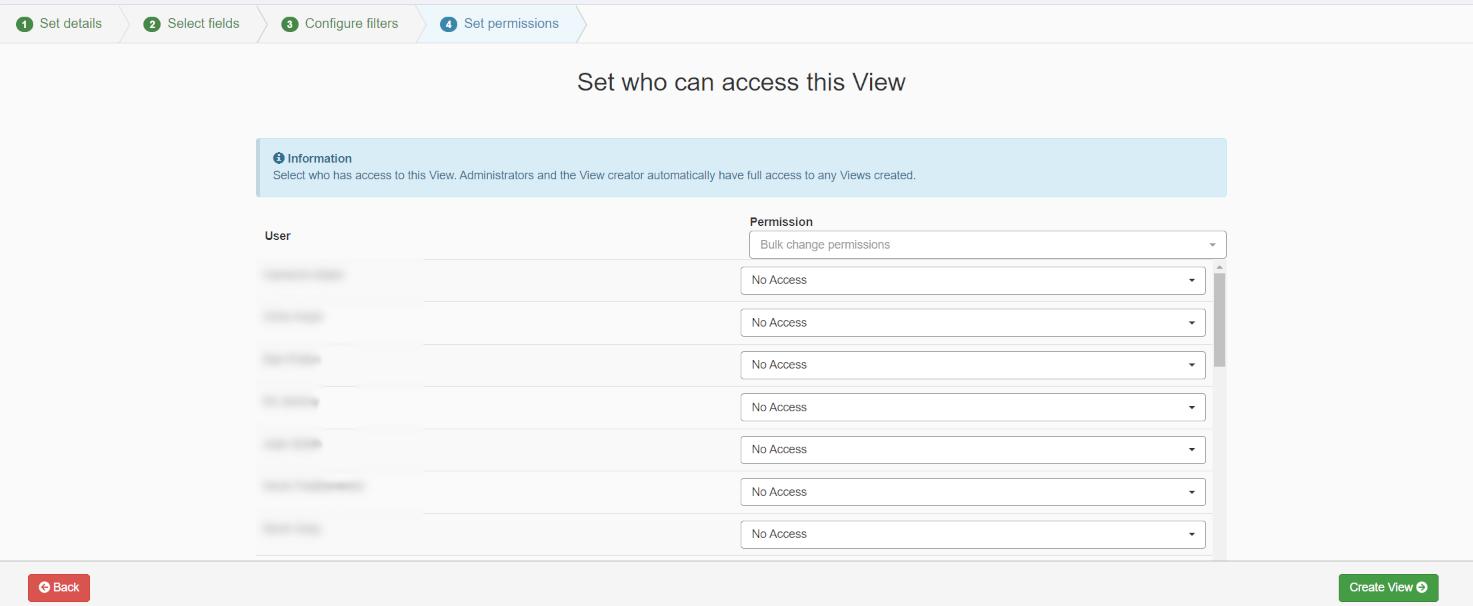
The final stage is for configuring which users configured for web access can see this view. Either use the dropdown to assign permissions in bulk, or use the dropdown next to each user. Once permissions are set click the 'Create View' button at the bottom.
This will create your view.
To use the view, view this article Using a Form View